
Descaling Faucets, Shower Heads, Etc. – Tips and Tricks
Descaling faucets (with or without removing them)
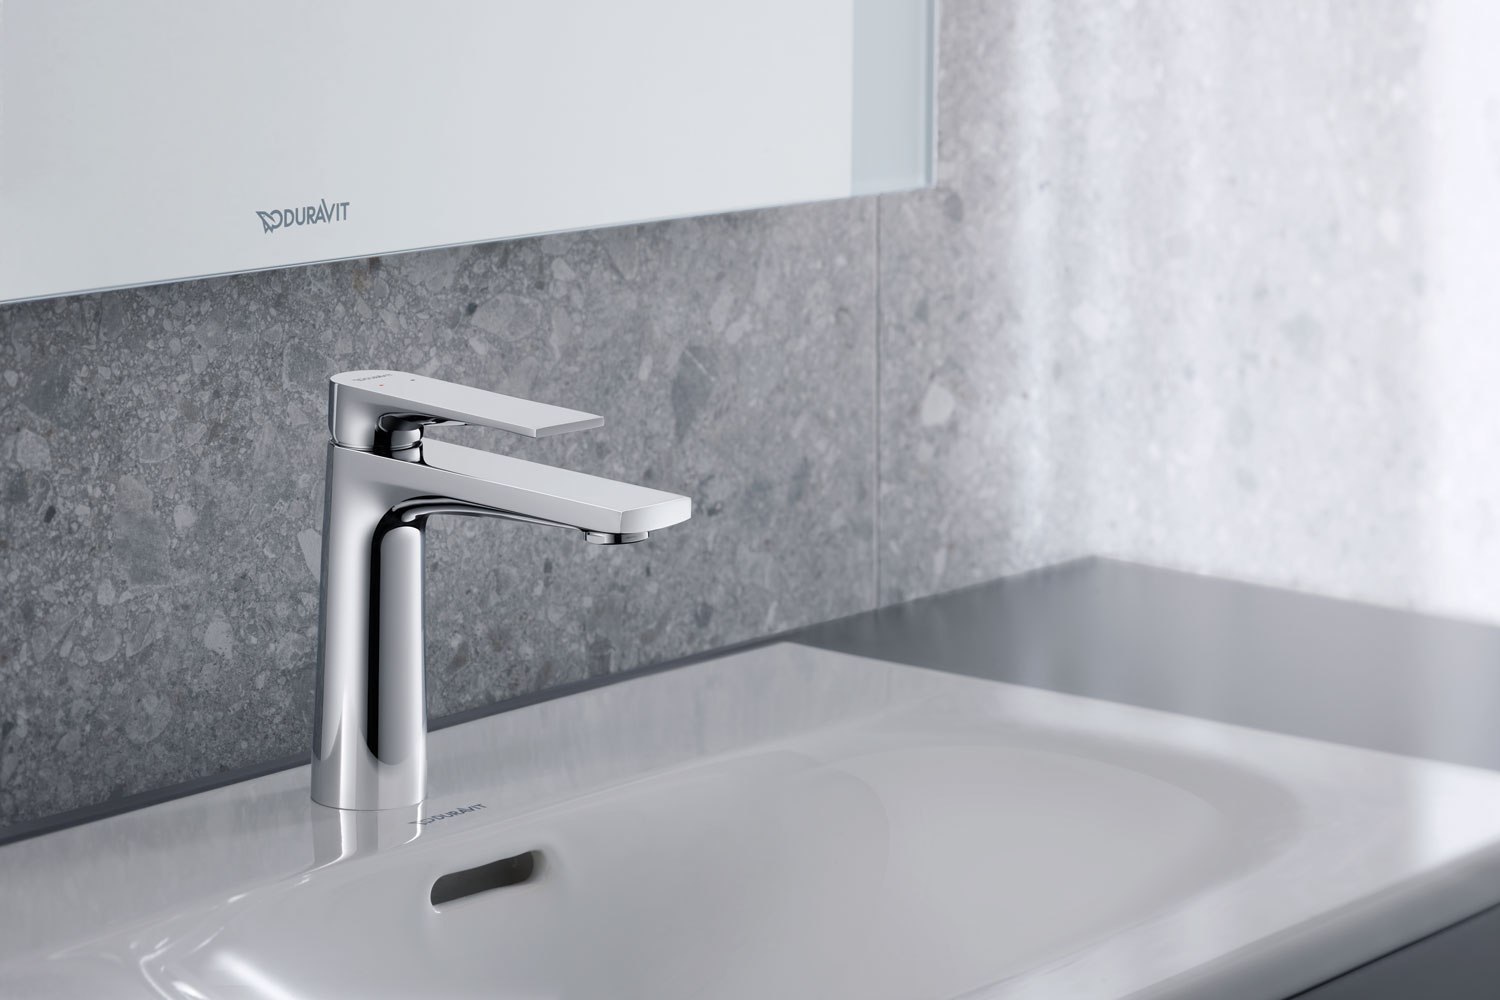
One of the most frequently used faucets in the bathroom is, without a doubt, the sink faucet. This makes descaling it an important task and it should be done regularly. Exactly how often depends on a number of factors, including how often it gets used. How hard your water is also plays a big role; the harder your water, the greater the limescale formation. In any case, you should descale the faucet as soon as you can see white deposits with the unaided eye. Fortunately, faucets are easy to clean with relatively little effort and just a few household items. This is the best way to go about it, step by step:
Before you start removing limescale from the faucet, it should be thoroughly cleaned. Water and a normal, not overly harsh cleaning product are usually all that are needed. The faucet should then be dried off.
When you go about removing limescale from your faucets, you don't have to reach for the tools right away. A balloon or a freezer bag and an old toothbrush can be put to good use here.
Simply fill the balloon or freezer bag with a mixture of water and the descaler you've decided to go with. Then place it over the entire faucet so that the front end – the part called the aerator, also known as the aerator nozzle, jet regulator or sometimes simply the faucet screen – is completely covered with the mixture. If you use a freezer bag, it can be held in place with a rubber band.
The length of time the faucet should soak depends on how much limescale is present and the concentration of the descaler used. You can then remove the bag (or balloon) and remove any residual scale with a toothbrush. Rinse all the parts thoroughly afterward.
Our tip: If the scale buildup isn't too severe, 20 minutes is usually enough of a soak, but sometimes soaking overnight is recommended. If you aren't sure, check whether the limescale has dissolved at regular intervals and don't leave the faucet soaking in the descaler for too long. If any limescale remains on the faucet after this cleaning, you can repeat these steps again.
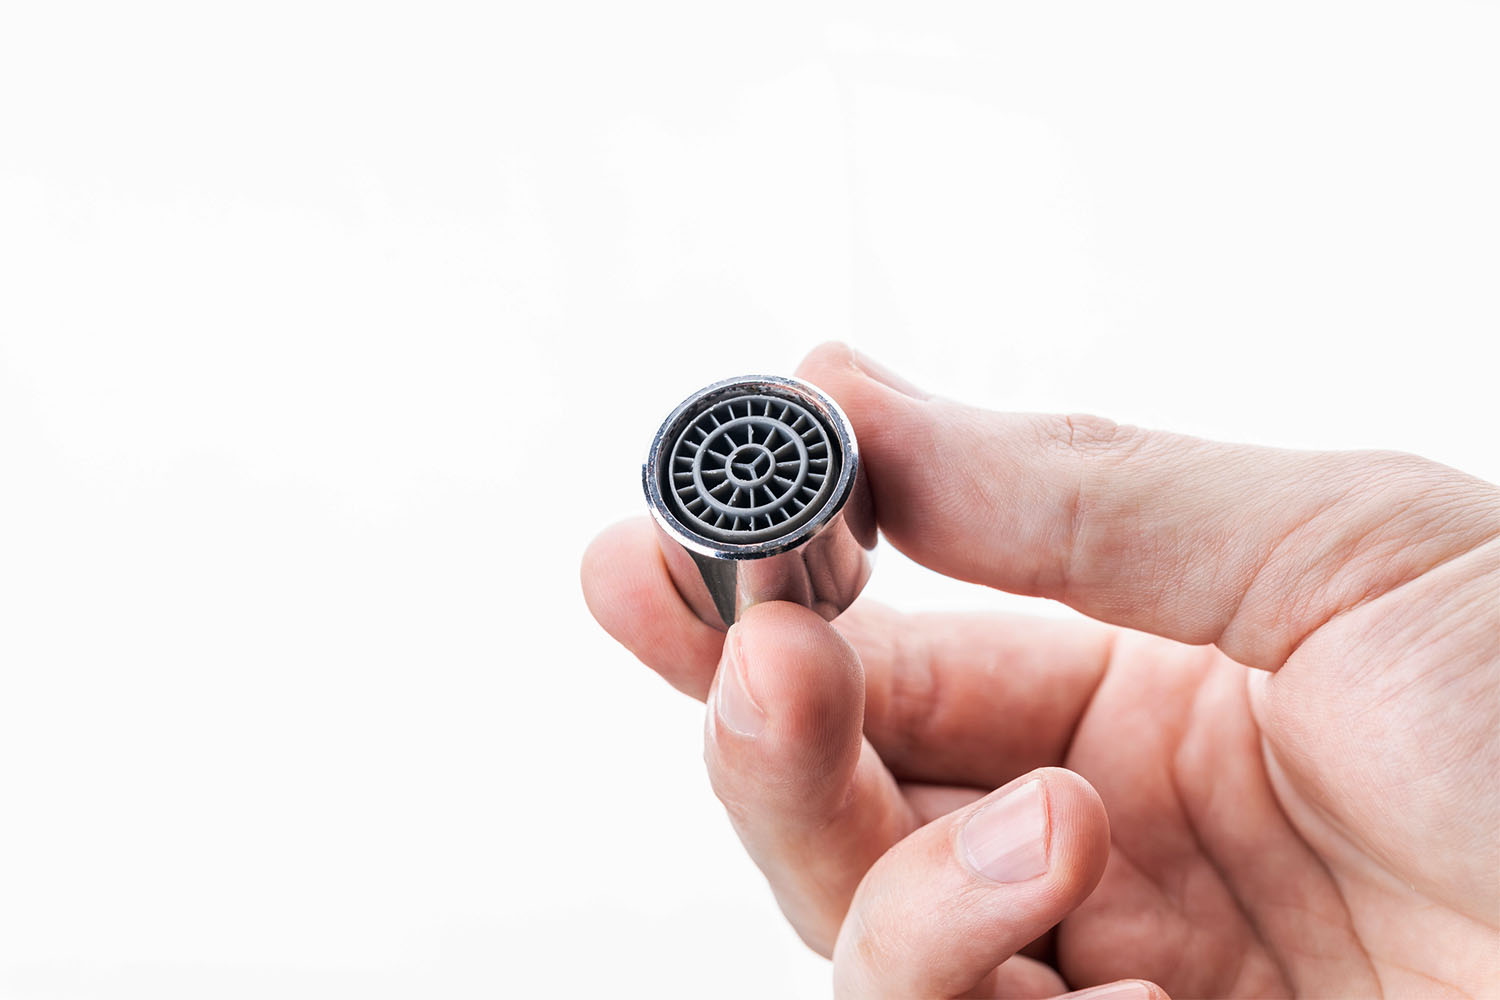
Depending on the model of the faucet and how much limescale is present, removing the aerator first may be advisable. This is easy to do with most faucets – sometimes even by hand. If not, a pair of pliers can help, but be careful not to scratch the faucet in the process. It's a good idea to close off the sink drain beforehand to prevent anything from accidentally disappearing down the drain.
Then you can easily dismantle the aerator into its three component parts – screen, nut and sealing ring. You can descale the nut and the faucet screen by soaking them in a mixture of descaler and water. Don't soak the sealing ring in descaler, though. It's very easy to clean limescale off of it and the plastic can become porous after prolonged contact with descaler.
After soaking, rinse all of the parts with water. This approach offers the advantage of being able to thoroughly clean the faucet screen and remove any other dirt that may be present. The aerator can then be reassembled and installed on the faucet.
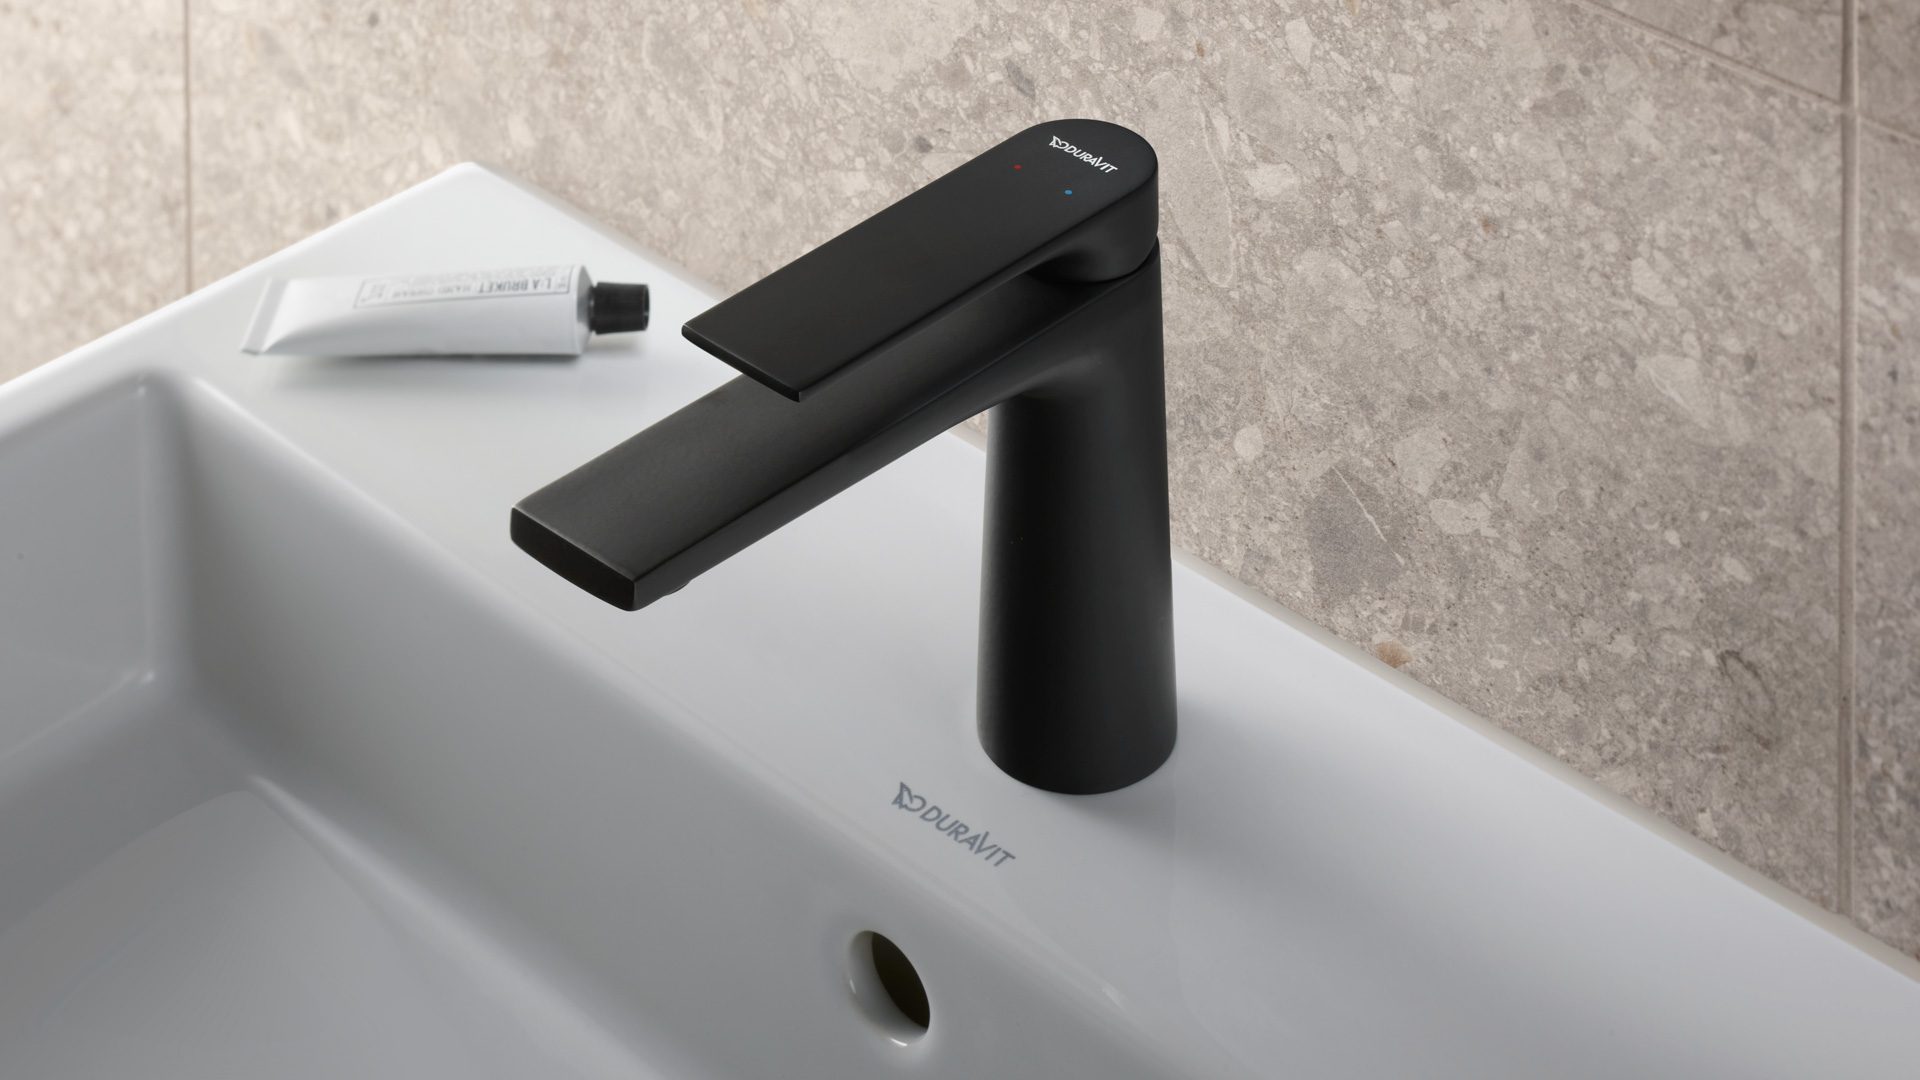
Faucet handles that have become hard to turn are often a sign of limescale buildup. The first step to take in this case is to try cleaning them from the outside. The same mixture as in the second step above can be used, in addition to a cloth or an old toothbrush. Depending on the design of the faucet, you might also be able to completely surround it with a balloon or a freezer bag when soaking it in step two and clean it this way.
If this doesn't work though, the handles on the faucet with limescale buildup will need to be removed first. These can then be soaked in the descaler mixture, as in step two, and then cleaned of any residual limescale. They can then be reinstalled after a thorough rinse.
By the way: With Duravit's EasyClean feature, any limescale or dirt deposits on the aerator can simply be rubbed away with your finger. This makes descaling the faucets a much easier and quicker task.
Descaling shower heads and mixer taps
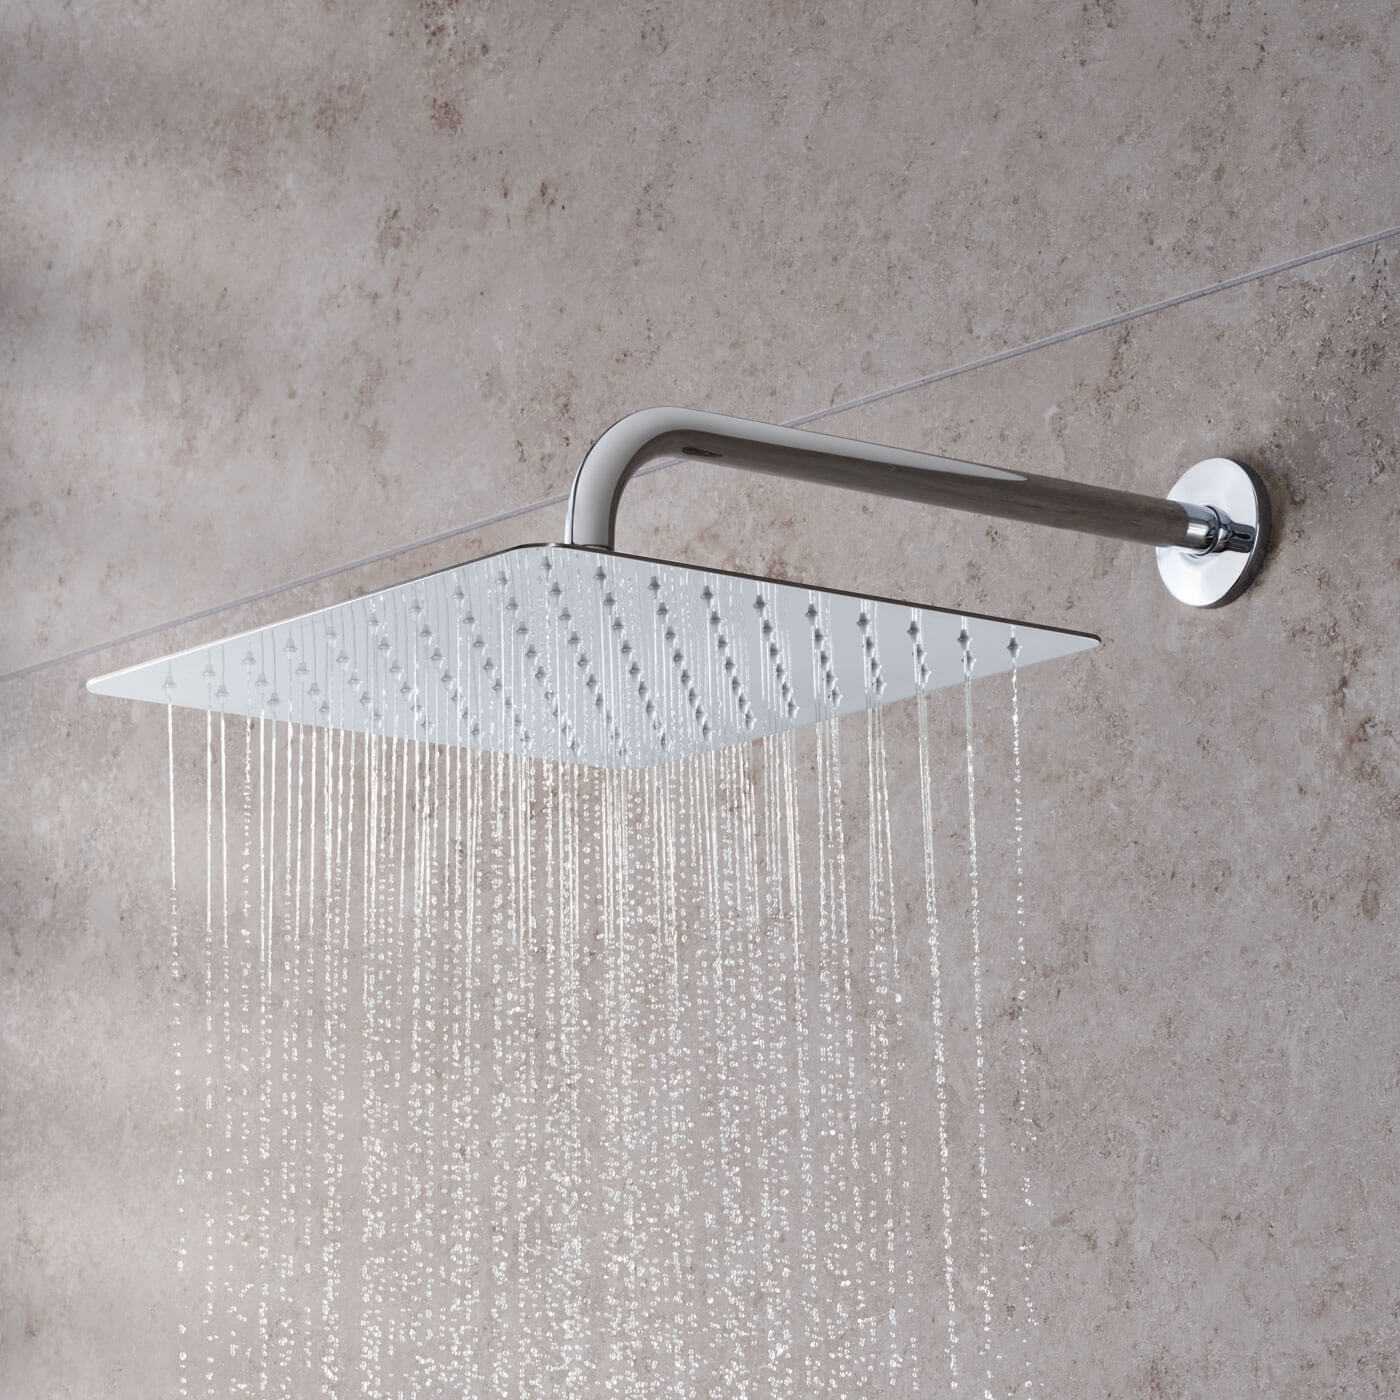
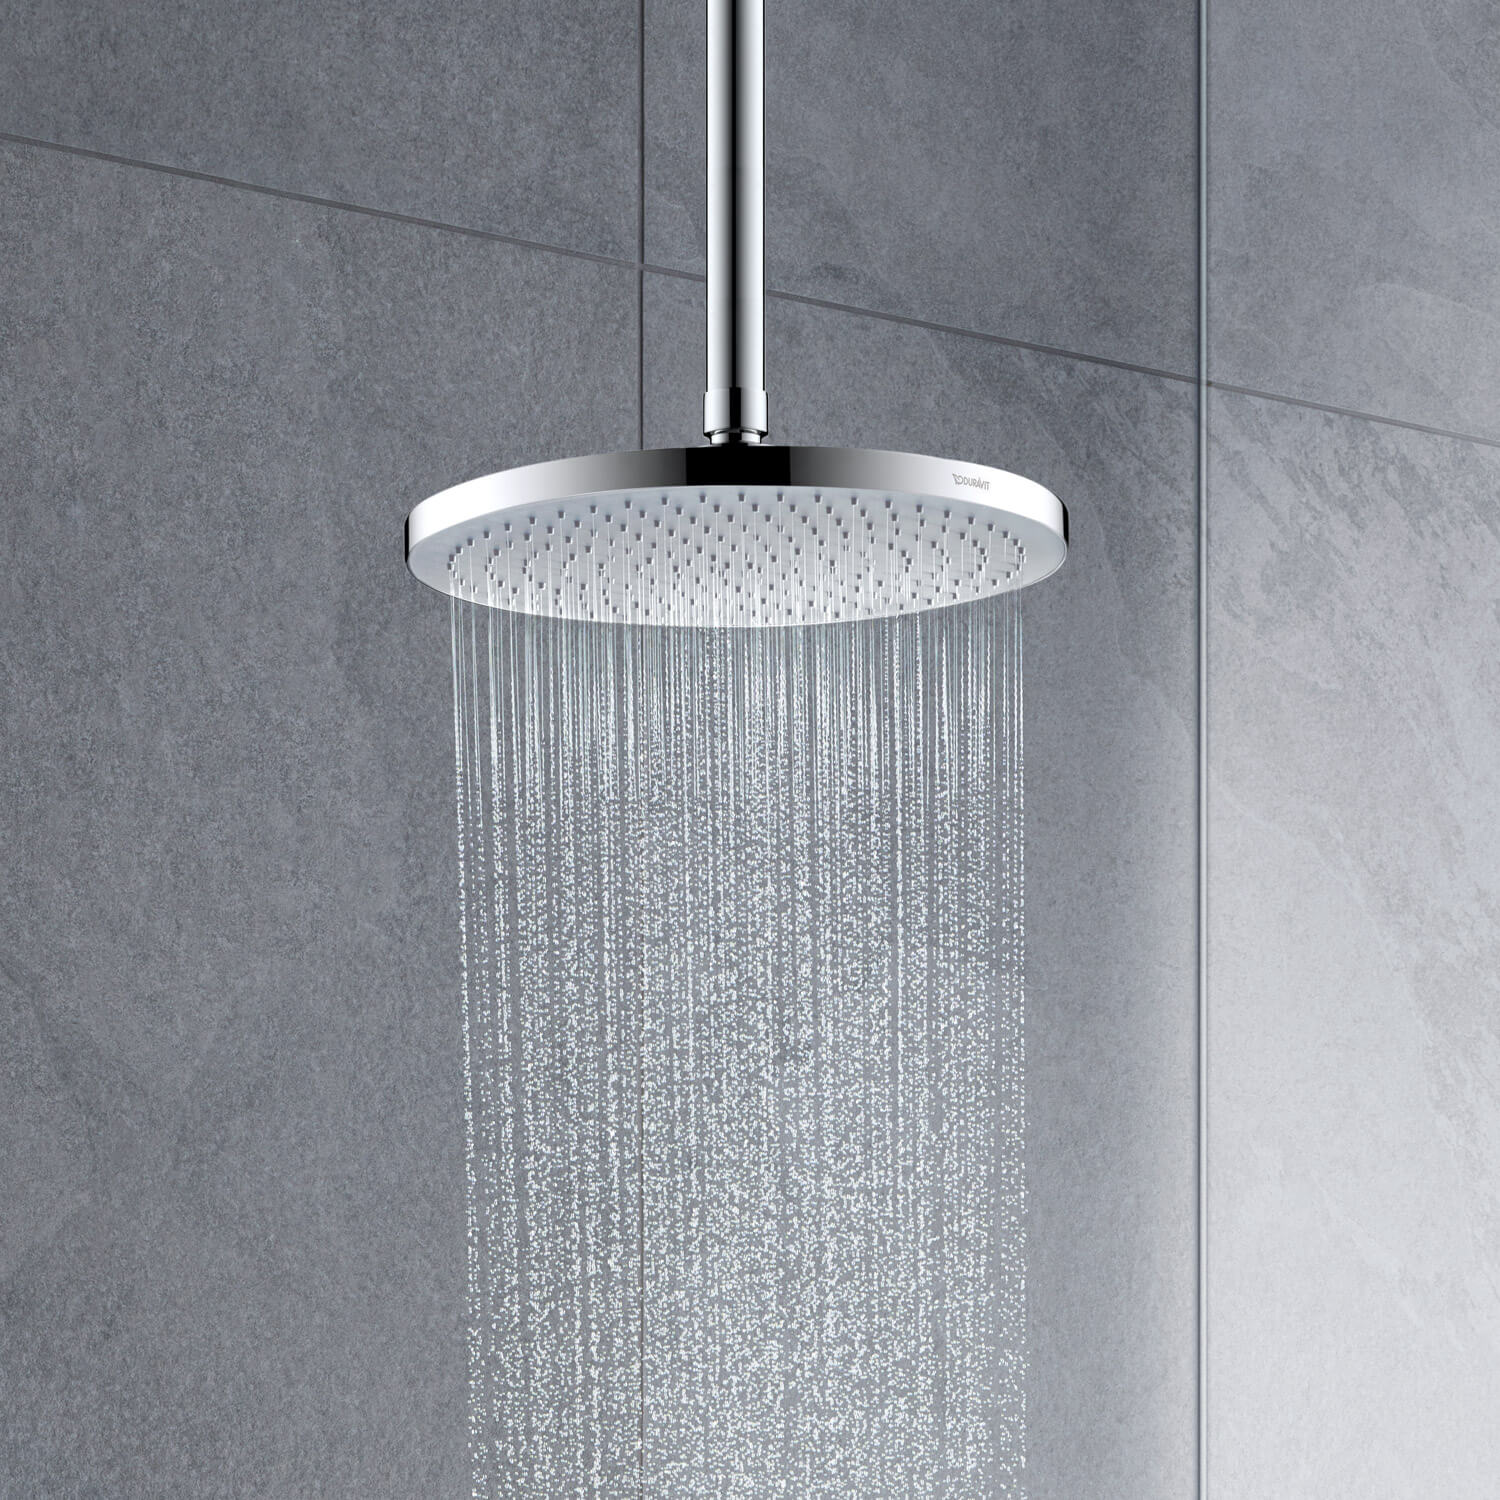
The spray nozzles on most shower heads these days are at least partially made of plastic, such as silicone. In these cases, it's usually easy enough to simply wipe the limescale away. It's better to avoid using a brush when descaling your shower head: it's relatively easily to accidentally damage the nozzles on a modern shower head. Limescale deposits on metal parts, on the other hand, can usually be wiped away using a cloth, a descaler mixture, or a toothbrush. If your shower head doesn't have any plastic parts, it can be soaked and then descaled just like the aerator on your sink faucet. In the case of a permanently installed overhead shower head, the spray nozzles can often be easily removed, and some are even dishwasher-safe. Then descale the rest of the shower head parts like you would the sink faucet.
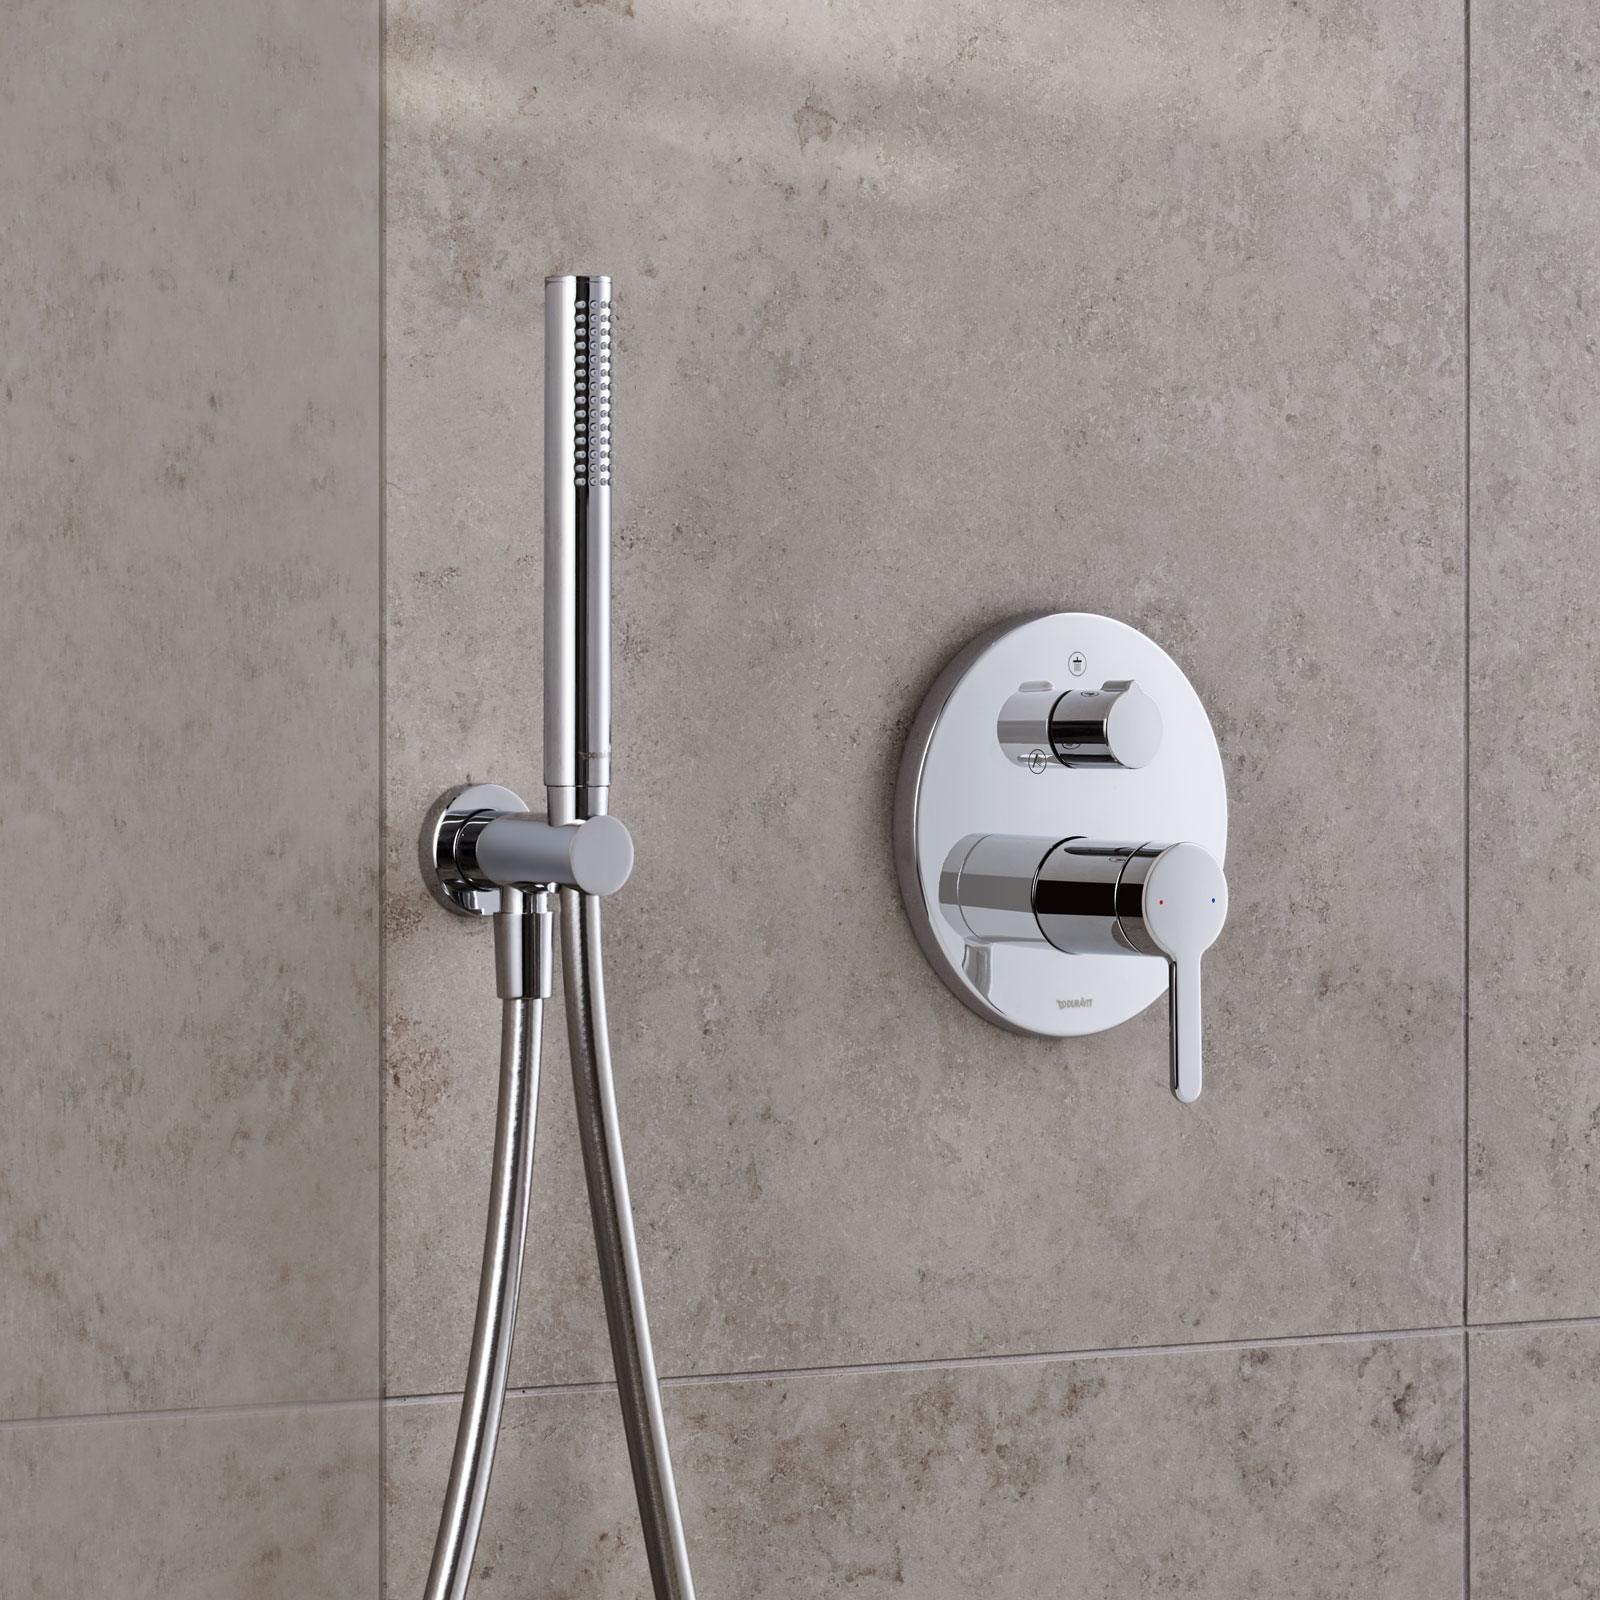
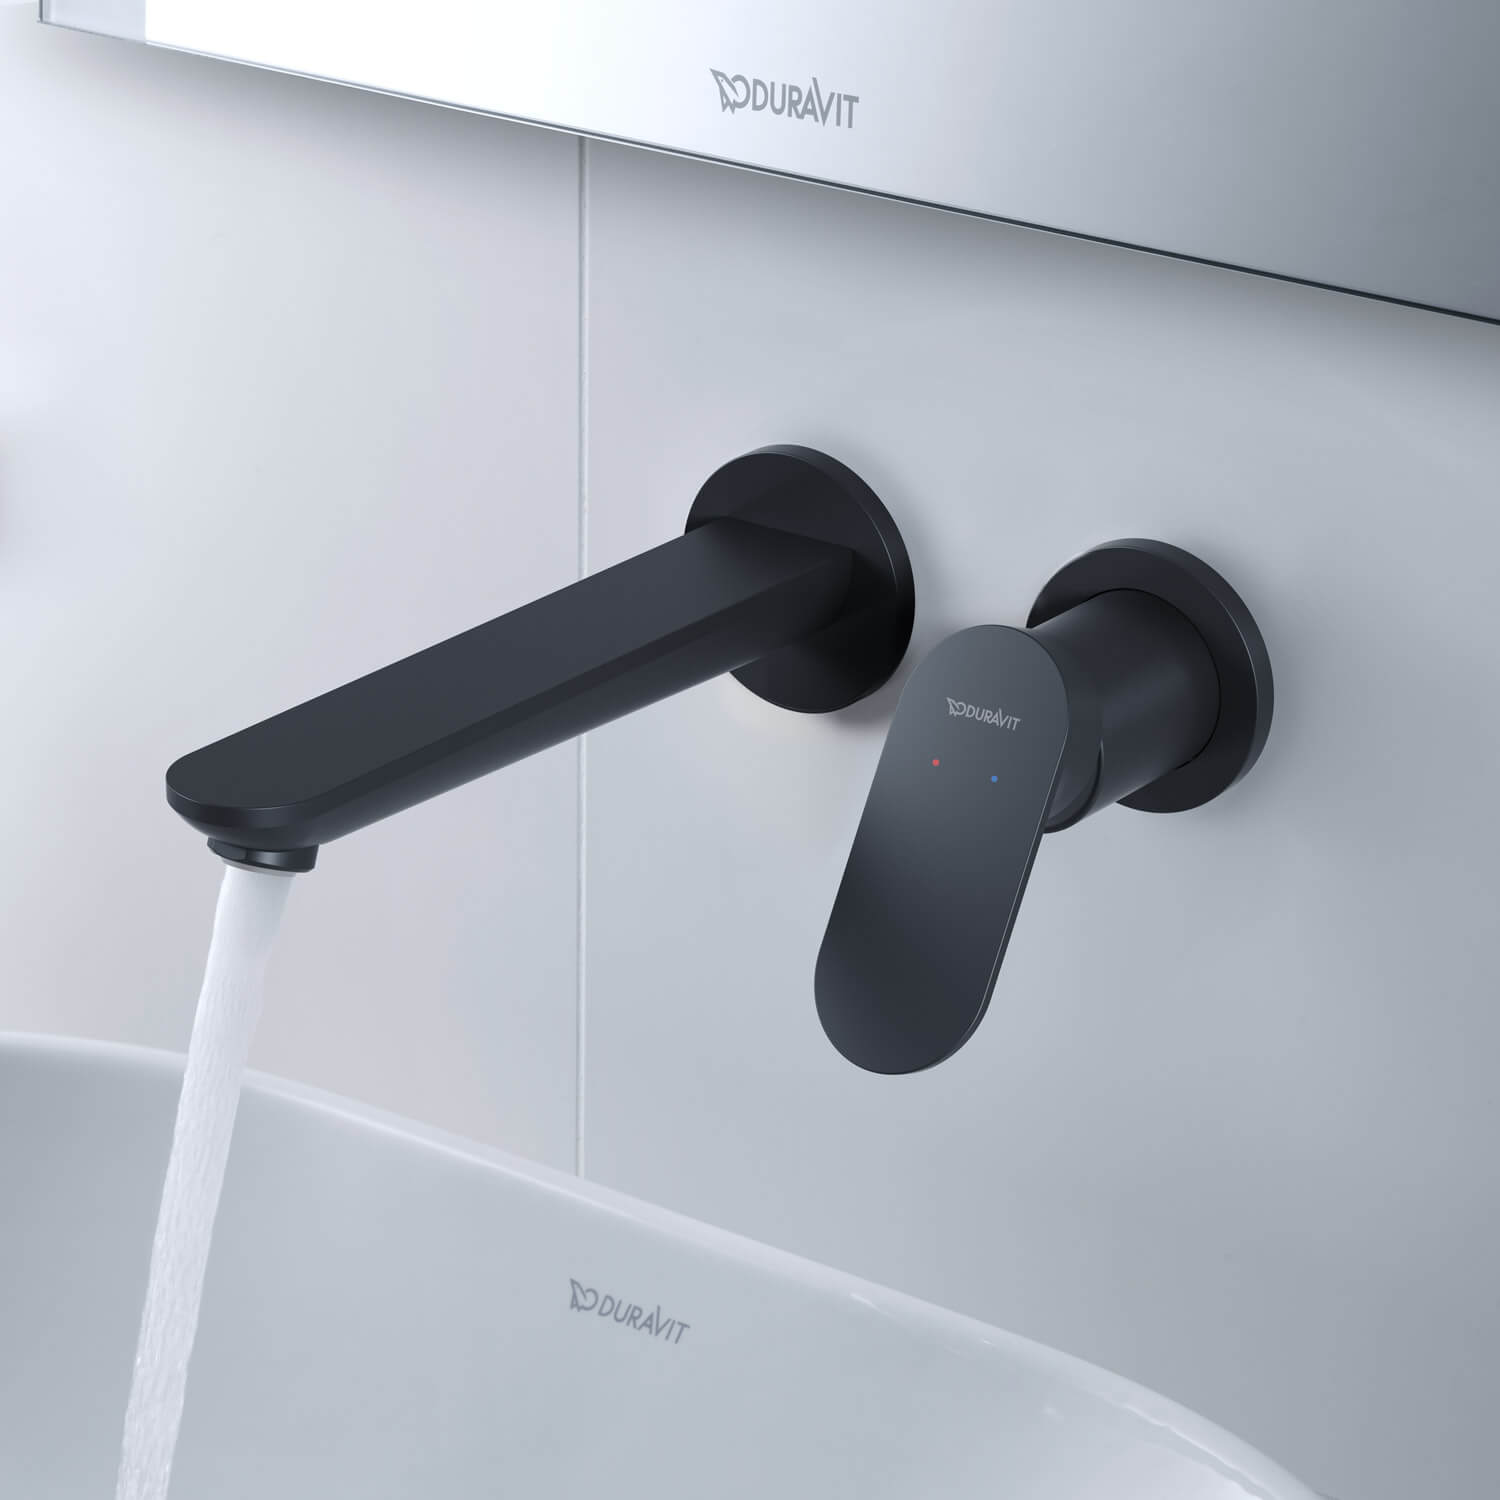
If there is limescale on the mixer tap, a good cleaning from the outside is recommended. If this isn't possible, it will generally be difficult to descale the mixer tap without removing it first . The exact procedure will vary depending on the model, but once the mixer tap has been removed, you can leave it to soak it in a descaler mixture.
Descaling other types of faucets
The steps that work to descale the sink faucet or the shower head can also be used on other types of faucets in the bathroom. If you have to contend with limescale on your bathtub faucets, you can simply proceed as described above. Bathtub spouts can be descaled just like you would descale faucets, while the bath mixer and hand shower can be descaled like the shower mixer tap and the shower head. Bidet faucets can also be descaled in the same way.

Which products work well as descalers for faucets and the like?
When you decide to descale the shower or the faucet, make sure to use the right product. It shouldn't be too harsh. You can find already mixed descalers available in stores with instructions for use, but these are often pretty strong. That's why it's often advisable to rely on household products to remove limescale from a faucet, for example.
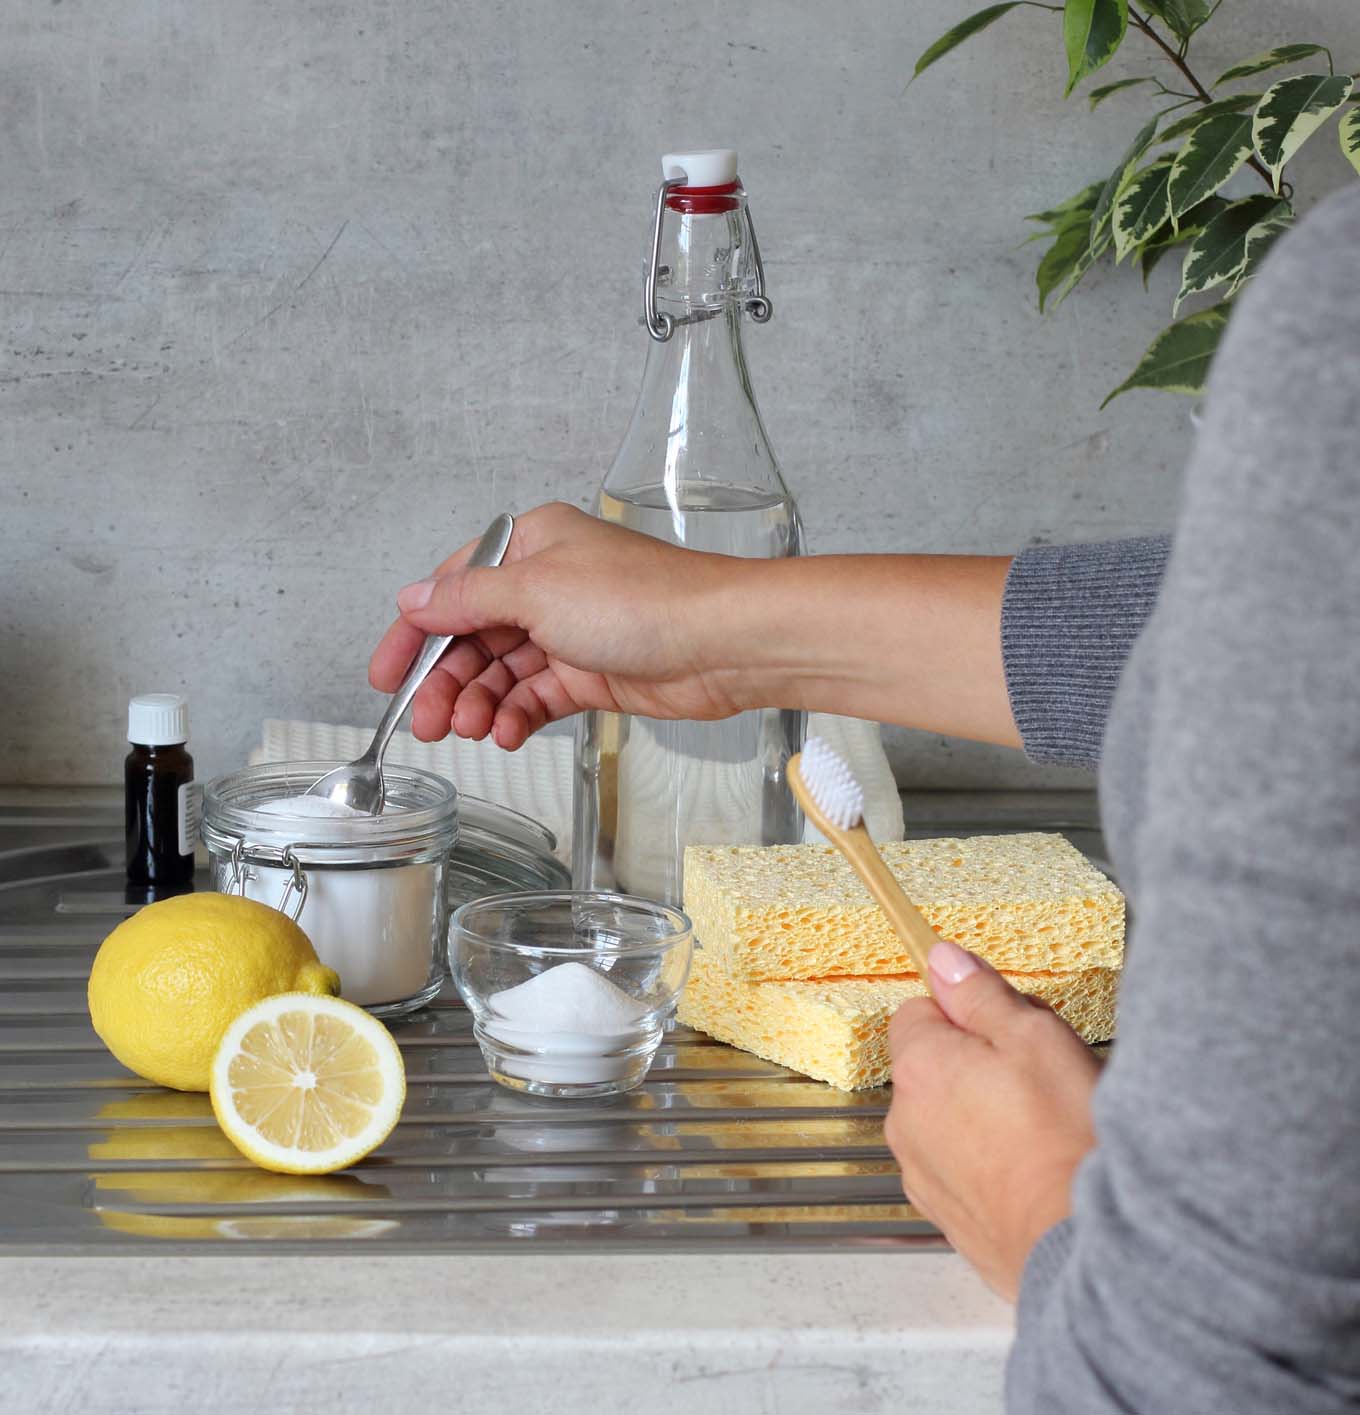
Citric acid is not as harsh as acetic acid (vinegar). It is gentler on the faucets as a result – but vinegar is more effective for heavier limescale buildup. The amount of limescale buildup should be the main deciding factor. Other stronger acids, like formic acid, phosphoric acid, or scouring agents should be avoided completely, as should rough sponges, steel wool pads and the like. These can damage the faucets during descaling. As mentioned earlier, plastic parts should never be soaked in acid and they should only be cleaned with extremely gentle solutions. A mixture of warm water and baking soda, for example, is often all that is needed.
How limescale is formed and how to prevent it
Minerals that lead to limescale are always found in tap water and they are not harmful as such. The mineral content found in typical tap water doesn't pose any health risks to the human body. It generally doesn't build up on the faucets much but limescale formation increases when the water is heated or cooled. And more limescale will obviously form with particularly hard water.
The following steps can help to prevent limescale from forming in the first place, so you don't have to constantly descale the shower head and faucets:
Cảm hứng
Bathroom Floor Plans
Tham khảo
Marble bathrooms: a classic aesthetic with a new look
Cảm hứng
The perfect washing area
Công nghệ
Accessible bathroom: for the elderly, wheelchair users & disability-friendly
Nhà thiết kế
Kurt Merki Jr.
Cảm hứng
The Dream Bathroom of Bertrand Lejoly
Công nghệ
Durable Materials
Nhà thiết kế
Christian Werner
Nhà thiết kế
sieger design
Cảm hứng
Finishes
Công nghệ
Ceramic
Cảm hứng
Color up your everyday
Tham khảo
Timeless Autumn
Công nghệ
Duravit Rimless®
Tham khảo
Gray Bathrooms: Tips for Trendy Bathroom Colors
Cảm hứng
Think big: Big little bathroom
Tham khảo
A sauna in the bathroom: pure relaxation
Tham khảo
PHASE DANCE
Nhà thiết kế
Antonio Bullo
Cảm hứng
The bathroom as a tactile experience
Tham khảo
White bathrooms: classic and elegant
Cảm hứng
Decorating the bathroom
Nhà thiết kế
Casambi App
Khoa học vật liệu
Keeping clean!
Cảm hứng
A wealth of forms for individual bathroom design
Tham khảo
Vintage bathrooms
Khoa học vật liệu
Painting the Bathroom: how to make your new paint job a success
Khoa học vật liệu
Cleaning bathroom grout
Tham khảo
Natural stone in the bathroom - natural, aesthetic, durable
Công nghệ
Saving energy and water in the bathroom
Tham khảo
Seamless bathrooms: tile-free and super trendy
Công nghệ
Hygiene in the bathroom
Cảm hứng
Matt surfaces
Nhà thiết kế
Phoenix Design
Công nghệ
Plants for the bathroom
Công nghệ
Martian House
Cảm hứng
The Dream Bathroom of Sebastian Herkner
Nhà thiết kế
Matteo Thun & Antonio Rodriguez
Nhà thiết kế
Antonio Citterio
Khoa học vật liệu
Storage in the bathroom: eight ideas for creating more space
Cảm hứng
Thinking big in small spaces
Cảm hứng
A bright and breezy start to the day with the right washing area
Nhà thiết kế
Frank Huster
Nhà thiết kế
Cecilie Manz
Cảm hứng
The Dream Bathroom of Christian Werner
Cảm hứng
Bathtubs with a door
Tham khảo
Hygge: Danish lifestyle moves into the bathroom
Cảm hứng
The perfect showering area
Cảm hứng
Color in the Bathroom
Tham khảo
En suite bath
Khoa học vật liệu
Design that creates space
Tham khảo
Twelve Senses
Tham khảo
The Luxury Bathroom: Inspiration and Tips
Nhà thiết kế
Philippe Starck
Cảm hứng
Happy D. 20 years
Khoa học vật liệu
Five organization tips for your bathroom
Cảm hứng
The family bathroom
Nhà thiết kế
EOOS
Tham khảo
Black bathrooms: stylish simplicity
Tham khảo
Natural bathroom
Công nghệ
DuraLAB
Cảm hứng
Bathroom design for now and forever
Công nghệ
Toilet Paper Facts
Công nghệ
Bathroom furniture manufacturing
Cảm hứng
Bathrooms in size XS

